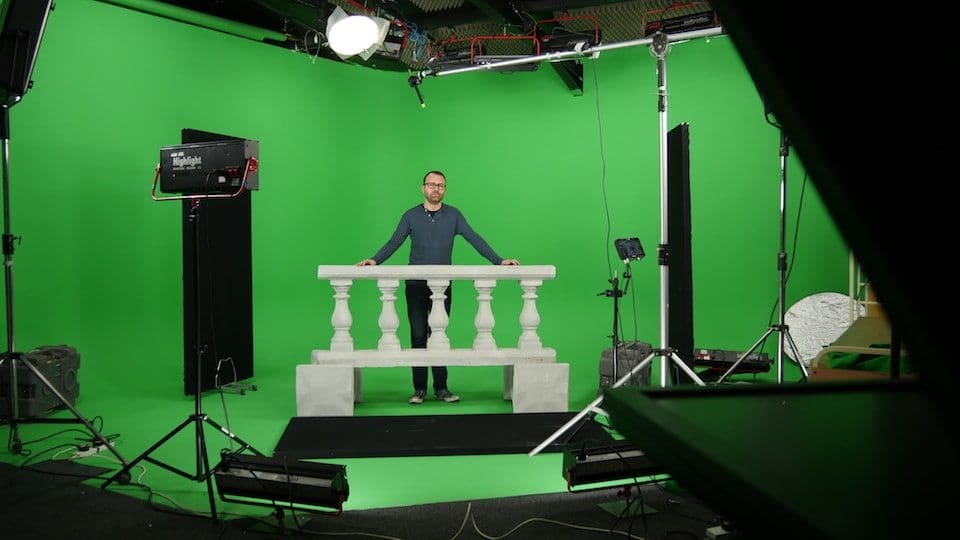
The importance of lighting.
Lighting generally comes in 2 flavours; tungsten and daylight balanced lights. As the name suggests daylight is the blue/white light emitted from the sun. It lingers at around 50 kelvins on the colour temperature scale. Tungsten is around 20-30k on the Kelvin scale. An easy trick is to go counter-intuitive and if you see a low Kelvin number on a bulb it’s actually warm while lamps with a higher kelvin are actually considered cool.
LED Vs. Fluorescent Vs. The Lights you picked up from B&Q
Galleon Studios are big believers in fluorescent lighting over all other types. The problem is that commercially available professional LED’s and those lights you picked up cheap from the DIY shop both share the same intrinsic problem of “flicker”. Though it’s unnoticeable to the human eye the camera picks up this aberration and records it. It sometimes can’t be seen in the LCD of the camera and is a trap waiting for you in the edit.
Before the professionals among you comment below about my dissing LED’s then hear me out. A 4K sensor doesn’t just take a “snapshot” of the image it’s shooting instead its sensor runs left to right top to bottom. Which is the same way LED’s distribute light. It’s been known to occasionally create an effect known as “shutter role”. At Galleon Studios we’d like to avoid these problems so offer flicker-free fluorescent lighting as standard for every studio hire. If you are using your own fluorescents ensure they have ballasts that evenly distribute the light.
Be it tungsten or daylight your decision rests on the environment you’re creating in the final composite. So if you’re trying to comp someone into that park on a sunny day it’s a no-brainer to use daylight. If you’re inside then maybe opt for tungsten lighting. The key is to match the light you’re throwing on the subject so that it matches it’s perceived source. So if we return to our example of the sunny day you’re trying to mimic the position of the sun. This is your “key light”. If the sun is supposed to be overhead according to your final background plate then put it bright and high. If it’s low and setting keep it bright but set it lower and add maybe some straw or orange gel to suggest that “golden hour” time. Now in real life, you only have this one light – the sun. But this is the movies! Time to add more light but add it naturally to complement your background. Remember the 3-point lighting you learned? Well, you need a fill light here; not as bright as the main key light, don’t be prescriptive about making it half as strong. Use your eye and that of the camera to make it seem natural. Again our live keyer can preview your green screen as you shoot so if you’re filming in the Manchester studio we recommend you add this essential piece of kit.
Also rather than have one backlight I’d steer you toward 2 to give greater separation from the green screen. If you can create a halo around your subject then those green edges that drive editors mad can be eliminated.
Want a great key? Try using a magenta gel over your backlights. We discussed how green is the furthest colour from human skin tone in “Why IS A Green Screen Green?” blog. The colour furthest from green is a deep magenta and so green spill on the edges is completely removed while shooting.
Tune in for part 3 of “How To Shoot Green Screen” where I’ll give you a simple checklist for every green screen filming you’ll ever do in or out of our Manchester hire studio.

