Green Screen Checklist
Welcome back for Part 3 of the Galleon Studios guide on “How Do I Shoot For Green screen?”. You can find Part 1 which covers the basics for green screen here and Part 2 that covers lighting here.
In terms of what shade of green you’re after see our “Why is green screen green?” blog. The best advice is that it should be even and non-reflective. Most paints contain an element of gloss and this reflection creates hot spots that throw non-green light back at the lens. Consequently the paint we use contains non-reflective particles so that it absorbs rather than reflects the lighting.
Here’s a quick checklist
you can consult as you shoot your greenscreen;
- Is your greenscreen even (see “why is a green screen green”)? Use your cameras zebras to ensure its’ evenly lit.
- Try and put 2-stops of light between your subject and background
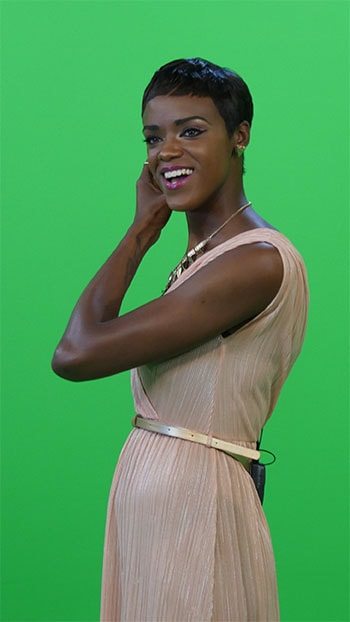
- Take a good look at your subject. Are they wearing green? It may sound stupid but check there are no green storks on that dress, no green necklace on that neck, no green flashing on those glasses!
- Step your subject away from the background
- Light your subject to match your background plate (if you’re in our Manchester studio use our live keyer to match).
- It’s not unusual to not have a completed background plate as you shoot. If you have no idea what’s going to be behind your subject then light flat and even. That’s easier to “fix in post” so don’t make decisions here you’ll regret later.
- Remember your backlights and consider using a magenta gel to set your subject apart from the green
- Check the hair of the person you’re filming. If possible slick it back. If they are blond really check no green is showing through their hair.
- Is there a lot of movement from your subject? If so crank up the shutter to over 1/100. You’ll need to add more light but the movements, frame by frame, will be clearer.
- STAY AWAY FROM THE ISO BUTTON.
- Your camera should have the subject FULLY IN FOCUS. Yes, we all love that “depth of field” DSLR look but you’ll be ruining it in the edit when the edge blurs with the background.
- Set your camera to progressive rather than interlaced (trust me).
- If your camera can achieve 4:2:2 color space set it to it or if you have access to a recorder that has 4:2:2 or 4:4:4 then attach that. The extra data will save your life. Avoid 4:2:0 . That’s because that last number represents the chroma value and you’re shooting chromakey. So if it’s zero so are your chances of keying it!
- If possible shoot a test shot and send it to your editor or pop it in the edit yourself, it’s better to fix it now rather than post-shoot.
Now; go shoot that greenscreen video.


